
Safe Mileage Management for Dyno Tuning: 2026 Guide
Table of Contents
- Why Mileage Management Matters During Dyno Tuning
- Does Dyno Testing Add Mileage to Your Odometer?
- How to Prepare a Car for Dyno Tuning
- Your Dyno Tuning Safety Checklist
- Dyno Tuning Fault Codes: What Triggers Them and How to Clear Them
- Mileage Planning, Road-Test Limits and Stop Conditions
- Post-Tune Monitoring and Maintenance Intervals
- Frequently Asked Questions
Last Updated: October 19, 2026
Why Mileage Management Matters During Dyno Tuning
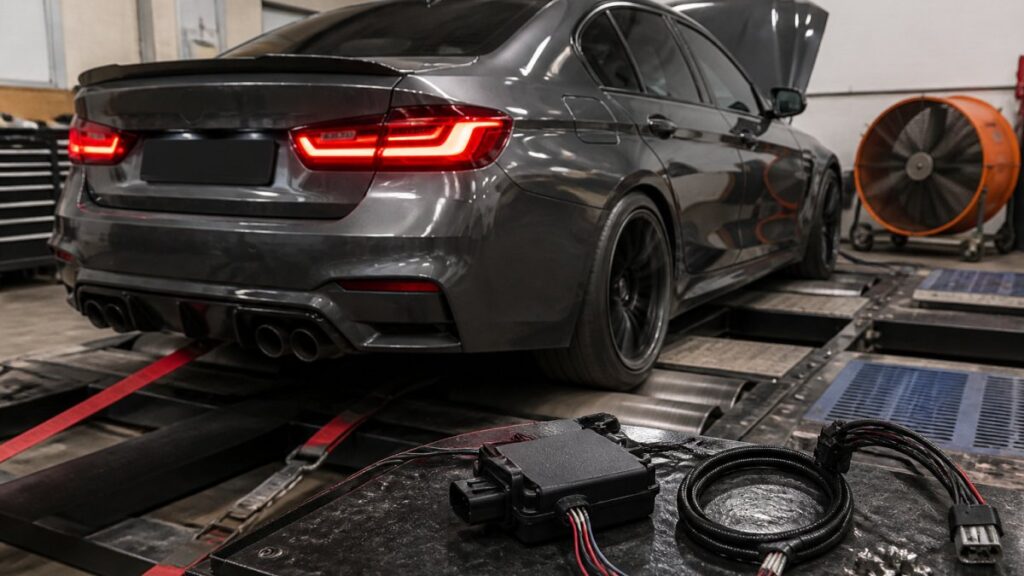
Safe mileage management for dyno tuning is the practice of controlling and recording odometer movement while a vehicle is strapped to a rolling road, so that testing, diagnostics and road verification do not distort the vehicle’s recorded history.
The stakes are practical rather than theoretical. Recorded mileage drives resale value, service scheduling and warranty conversations. A performance car with a suspicious jump in recorded distance invites awkward questions, even when the extra miles came from legitimate testing.
Treat mileage as test data, not an afterthought. Log the odometer before and after every session, and you will always be able to explain what happened.
Does Dyno Testing Add Mileage to Your Odometer?
Yes, in most cases.
Whether a specific vehicle records dyno distance depends on how its speed signal is generated and how the instrument cluster calculates distance.
A common mistake is assuming the rollers are “free miles.” They are not free in the record, and they are certainly not free in wear terms: tyres, brakes and drivetrain all work during a pull.
How to Prepare a Car for Dyno Tuning
Preparation is where most avoidable problems are prevented. A car that arrives hot, under-fuelled or on tired spark plugs will produce confusing results and may trigger fault codes that have nothing to do with the tune.
Fluids, Filters and Tyre Pressures
Start with the basics, because they change the numbers:
- Engine oil: check level and condition; old oil thins under sustained load and raises engine temperature.
- Oil filter and air filter: replace if due, so restriction does not skew results.
- Coolant: confirm level and strength, and check for leaks before the car is run hard.
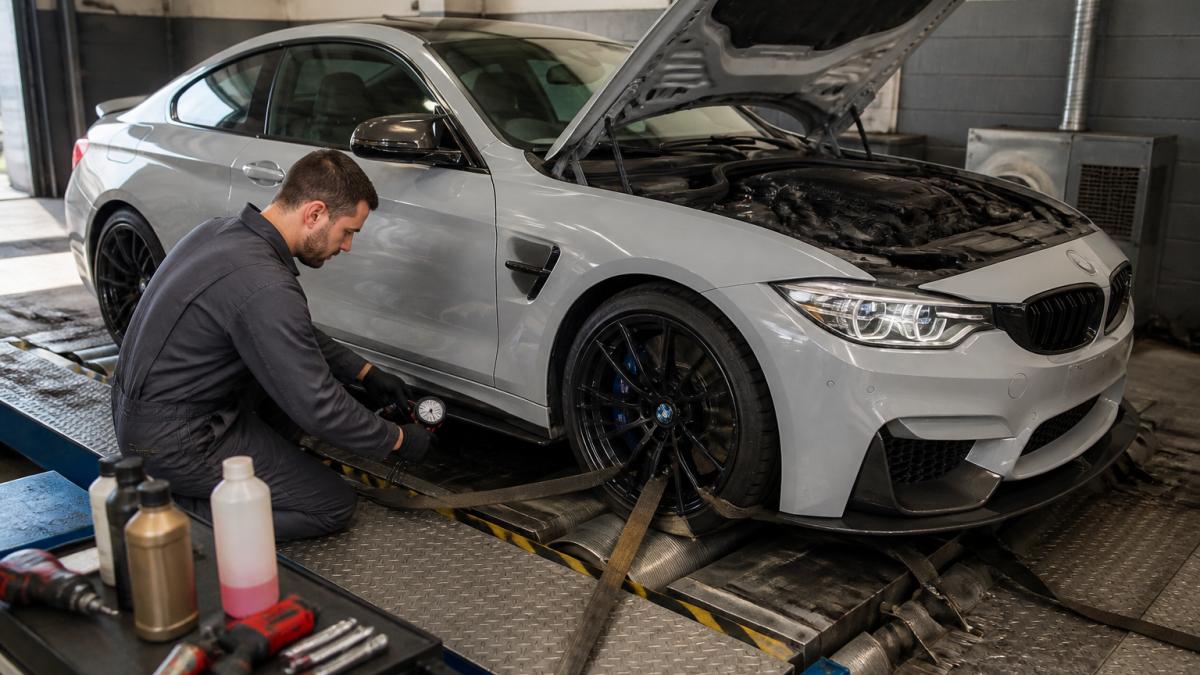
- Tyre pressures: set to the manufacturer’s figure and record them. Soft tyres increase rolling resistance and heat, and they change the load the dyno sees.
Fuel System and Ignition Checks
Fuel delivery and ignition condition decide whether a pull is representative. Check fuel pressure against specification, inspect fuel lines for perishing, and confirm the tank holds enough fuel for the session. On the ignition side, inspect spark plugs for gap and condition, and check spark-plug wires and coil packs for cracks or corrosion. A tired ignition system misfires under load, and a misfire reads as a tuning fault when it is a maintenance one.
Your Dyno Tuning Safety Checklist
Work through this before every session. It takes minutes and prevents most of the problems we hear about.
- Odometer reading recorded and photographed
- Engine oil level and condition confirmed
- Coolant level and strength checked, no leaks
- Fuel level adequate, fuel pressure within specification
Never start a session with a known fault code stored. It masks new codes triggered during the run, and you lose the ability to tell pre-existing faults from tuning faults.
Dyno Tuning Fault Codes: What Triggers Them and How to Clear Them
Fault codes during dyno tuning usually come from four sources: a genuine tuning issue such as knock or a lean condition, a maintenance fault such as a misfire or low fuel pressure, a sensor pushed outside its expected range under load, or a code left over from before the session.
Read codes before and after every run. If a code appears mid-session, stop, note it, and diagnose before continuing. Clearing codes is straightforward with a diagnostic tool, but clearing without diagnosing simply hides the evidence. Fix the cause, clear the code, then re-run to confirm it stays away.
Mileage Planning, Road-Test Limits and Stop Conditions
Plan mileage before the car goes on the rollers. Decide how many road verification runs the tune needs, where they will happen, and what distance each will cover. Keep a simple log that separates roller distance from road distance, and set stop conditions in advance so nobody has to make a judgement call mid-pull.
A Step-by-Step Mileage Log for Tuning
Use one log per job and record every stage. A spreadsheet or a notebook works; the discipline matters more than the tool.
| Stage | What to Record | Why It Matters |
|---|---|---|
| Pre-session | Odometer, date, session purpose, fuel level, tyre pressures | Baseline for the whole job and a record of starting condition |
| Before first pull | Odometer, fault codes read and cleared, ambient temperature | Separates pre-existing faults from tuning faults |
| After each pull block | Odometer, pulls completed, peak coolant and oil temperature, any codes | Shows how roller distance accumulates and flags heat trends |
| Road verification | Start and end odometer, route description, weather, traffic conditions, driver and observer | Proves the tune works in real-world driving and explains road miles |
| Final handover | Total distance added, work summary, parts replaced, next check due | Explains the record to the owner and sets maintenance expectations |
Photograph the odometer at each stage rather than writing it down. A timestamped photo settles any later question about when distance was added, and it takes seconds.
Safe Road-Test Limits
Road verification is not a free-for-all. Set limits before the car leaves the workshop:
- Distance per run: keep each verification run short enough to review data before the next one. A common pattern is a warm-up cycle, a steady-state cruise, and a short loaded pull, repeated only if the data is clean.
- Number of runs: agree a maximum number of road runs for the job and stick to it. Repeated pulls add miles and heat without necessarily adding information.
- Route: choose a route with lawful speeds, predictable traffic, and somewhere safe to stop if a warning appears. Avoid residential streets, school zones, and anywhere a sudden stop would be hazardous.
- Conditions: note ambient temperature, weather, and traffic. Comparing a cold, quiet morning run with a hot, congested afternoon run tells you little about the tune.
- People: where possible, carry a second person to monitor diagnostics so the driver can concentrate on the road.
Public-road testing carries legal, traffic, weather, and driver-safety constraints. Keep speeds and routes lawful, never treat a public road as a substitute for a closed site, and distinguish controlled dyno testing from any necessary road validation. The Highway Code remains the reference for lawful road use during testing.
Stop Conditions and Warning Signs
Set stop conditions in advance and end the run if any appear:
- Rising engine coolant or oil temperature beyond the normal range for the vehicle
- Audible knock or pinging under load
- A flashing or newly stored fault code
- Falling fuel pressure or a lean reading that cannot be explained by the tune
- Any misfire, hesitation, or unstable idle
If one appears, end the run, note the condition, and diagnose before continuing. Clearing codes without diagnosing simply hides the evidence.
Agree the stop conditions with the owner before the session. A written list removes ambiguity when a warning appears mid-pull and everyone is under time pressure.
Post-Tune Monitoring and Maintenance Intervals
The job does not end when the car comes off the rollers. A fresh tune can expose a weak component, and the first few hundred miles of normal driving are when you learn whether the calibration holds up outside the cell.
Maintenance Intervals After a Dyno Session
Bring forward routine maintenance where the session involved sustained high-load running:
- Engine oil and filter: change sooner than the normal interval if the session included repeated high-load pulls or if the oil looked degraded on the dipstick. Sustained load raises oil temperature and accelerates additive depletion.
- Spark plugs: inspect for colour, gap, and wear. A plug that was marginal before the session may now be fouled or eroded.
- Air filter: check for restriction, especially if the session took place in a dusty workshop.
- Coolant: confirm level and strength, and check for leaks once the engine has cooled.
- Brakes and tyres: inspect for uneven wear or heat damage from repeated pulls.
Record what was changed and when, so the next session starts from a known baseline.
Mileage, Break-In and Readiness
Engine condition and recent work affect readiness for tuning. A freshly rebuilt or replaced engine needs a proper break-in period before it is run hard on a dyno; rings and bearings need load cycles to seat, and oil consumption may be higher during this period. Clarify with the owner whether the engine is broken in, whether recent repairs have been completed, and when the last oil change was done.
Verifying Fuel-Economy Claims
When evaluating any fuel-economy claim after a tune, verify it properly rather than relying on anecdotal results:
- Fill the tank to the same point before and after the test.
- Record the odometer at the start and end of the test period.
- Drive a consistent route with comparable traffic, weather, and load.
- Refill and calculate the figure from the distance covered and fuel used.
Short trips and mixed driving produce noisy figures that prove little. Compare like with like: same route, same fuel, same load, same driving style. If the owner reports a change, ask how it was measured before repeating the claim.
For MOT and roadworthiness context, the DVSA MOT inspection guidance sets out what testers check, and the DVLA guidance on vehicle records explains how registered details are held. For general road-safety framing, the Highway Code remains the reference for lawful road use during testing.
Do not present a fuel-economy improvement as fact unless it has been measured on a comparable route with recorded odometer and fuel figures. Anecdotal claims invite challenge and undermine trust in the tune.
Frequently Asked Questions
Does dyno testing add mileage to my car?
A dyno run spins the driven wheels on rollers, so the odometer can clock up distance even though the car never moves. Short power pulls usually add only a few miles, but repeated sessions, road tuning and diagnostics can add more. If you need to keep the recorded mileage accurate for resale or warranty reasons, plan the session in advance and use a dedicated mileage management module rather than relying on guesswork afterwards.
Can dyno testing trigger fault codes?
Yes. Dyno tuning fault codes commonly appear when the ECU sees conditions it does not expect: wheel-speed mismatch between front and rear sensors, traction control intervention, or fuelling corrections outside normal range. Most clear once the car is back on the road and driven normally. If a code persists after two drive cycles, inspect the affected sensor or wiring before the next pull, and log the codes so your tuner can see what changed.
How should I prepare a car for dyno tuning?
Check engine oil level and condition, replace a clogged oil filter, top up coolant, and confirm fuel pressure is within spec. Inspect spark plugs and leads, set tyre pressures to the manufacturer’s figures, and make sure brakes are not dragging. Tell your tuner about any recent fault codes or modifications. A clean, well-maintained car gives more repeatable power figures and lowers the risk of a session being cut short.
Is dyno tuning safe for my engine?
A dyno session is safe when the operator respects safe operating limits: watching knock, intake temperature and air-fuel ratio on every pull. Problems arise when a car is pushed past its fuelling or cooling capacity, or when a fault is ignored to chase a number. Ask for a base tune run first, confirm the engine is healthy, then build power in stages. Stop immediately if you see detonation, misfire or rising temperatures.
How long does a dyno tuning session take?
A basic power run takes 20 to 30 minutes including strapping down and cool-down. A full custom tune with multiple pulls, logging and adjustments typically runs two to four hours. Factor in extra time for diagnostics if fault codes appear, and allow the car to cool between hard pulls. Booking a longer slot avoids rushing the final map.
What should I check after a dyno tuning session?
Recheck fluid levels, look for leaks, and scan for stored fault codes before driving home. Compare the final power and torque figures against the base run, and note any warning signs such as misfire or hesitation on the road test. Log the date, mileage and map version so the next service interval and any future tuning work start from a clear record.
Testing mileage is unavoidable, but unexplained mileage is a choice. If you run dyno sessions regularly, controlling the record is as much part of the job as controlling the tune. Mileage Blocker supplies UK-made, plug-and-play modules with fitting guides, a 12-month warranty and 24/7 support, so you can isolate test distance and hand the car back with a record you can defend. Get started with Mileage Blocker and keep every session documented.
Leave a Reply